How To Install TTF Fonts in Linux

I really like the Hack font – it’s used in my terminal apps on MacOS, Linux and even Windows workstations. This short post demonstrates how to install Hack font, but you can use the steps to configure any other TrueType Font (TTF) on your system.
Step 1: Download the TTF font files
In my case, I downloaded the Hack v3 ZIP archive.
Naturally, you need to unpack it:
greys@xps:~/Downloads $ unzip Hack-v3.003-ttf.zip
Archive: Hack-v3.003-ttf.zip
creating: ttf/
inflating: ttf/Hack-Bold.ttf
inflating: ttf/Hack-BoldItalic.ttf
inflating: ttf/Hack-Italic.ttf
inflating: ttf/Hack-Regular.ttf
greys@xps:~/Downloads $
Step 2: Copy TTF files into local fonts directory
First you’re going to have to create it in your own homedir:
greys@xps:~/Downloads $ mkdir -p ~/.local/share/fonts Now let’s copy the font files into that local fonts directory:
greys@xps:~/Downloads $ ls ttf/*
45-hack.conf Hack-BoldItalic.ttf Hack-Bold.ttf Hack-Italic.ttf Hack-Regular.ttf
greys@xps:~/Downloads $ cp ttf/*ttf ~/.local/share/fonts/
Step 3: Refresh fonts cache with fc-cache command
Just run the fc-cache command like this:
greys@xps:~/Downloads $ fc-cache -f -v This command will show a list of fonts locations that it inspects and caches for system use. Among the lines of output you can see my home directory:
/usr/share/fonts/type1: caching, new cache contents: 0 fonts, 1 dirs
/usr/share/fonts/type1/gsfonts: caching, new cache contents: 35 fonts, 0 dirs
/usr/X11R6/lib/X11/fonts: skipping, no such directory
/usr/local/share/fonts: caching, new cache contents: 0 fonts, 0 dirs
/home/greys/.local/share/fonts: caching, new cache contents: 4 fonts, 0 dirs
/homee/greys/.fonts: skipping, no such directory
/usr/share/fonts/X11: skipping, looped directory detected
Step 4: Review available fonts
This should now report that your graphics system (X11/Xorg) has access, the list will include the newly installed fonts Hack:
greys@xps:~/Downloads $ fc-list | grep Hack
/storage/greys/.local/share/fonts/Hack-Regular.ttf: Hack:style=Regular
/storage/greys/.local/share/fonts/Hack-Bold.ttf: Hack:style=Bold
/storage/greys/.local/share/fonts/Hack-BoldItalic.ttf: Hack:style=Bold Italic
/storage/greys/.local/share/fonts/Hack-Italic.ttf: Hack:style=Italic
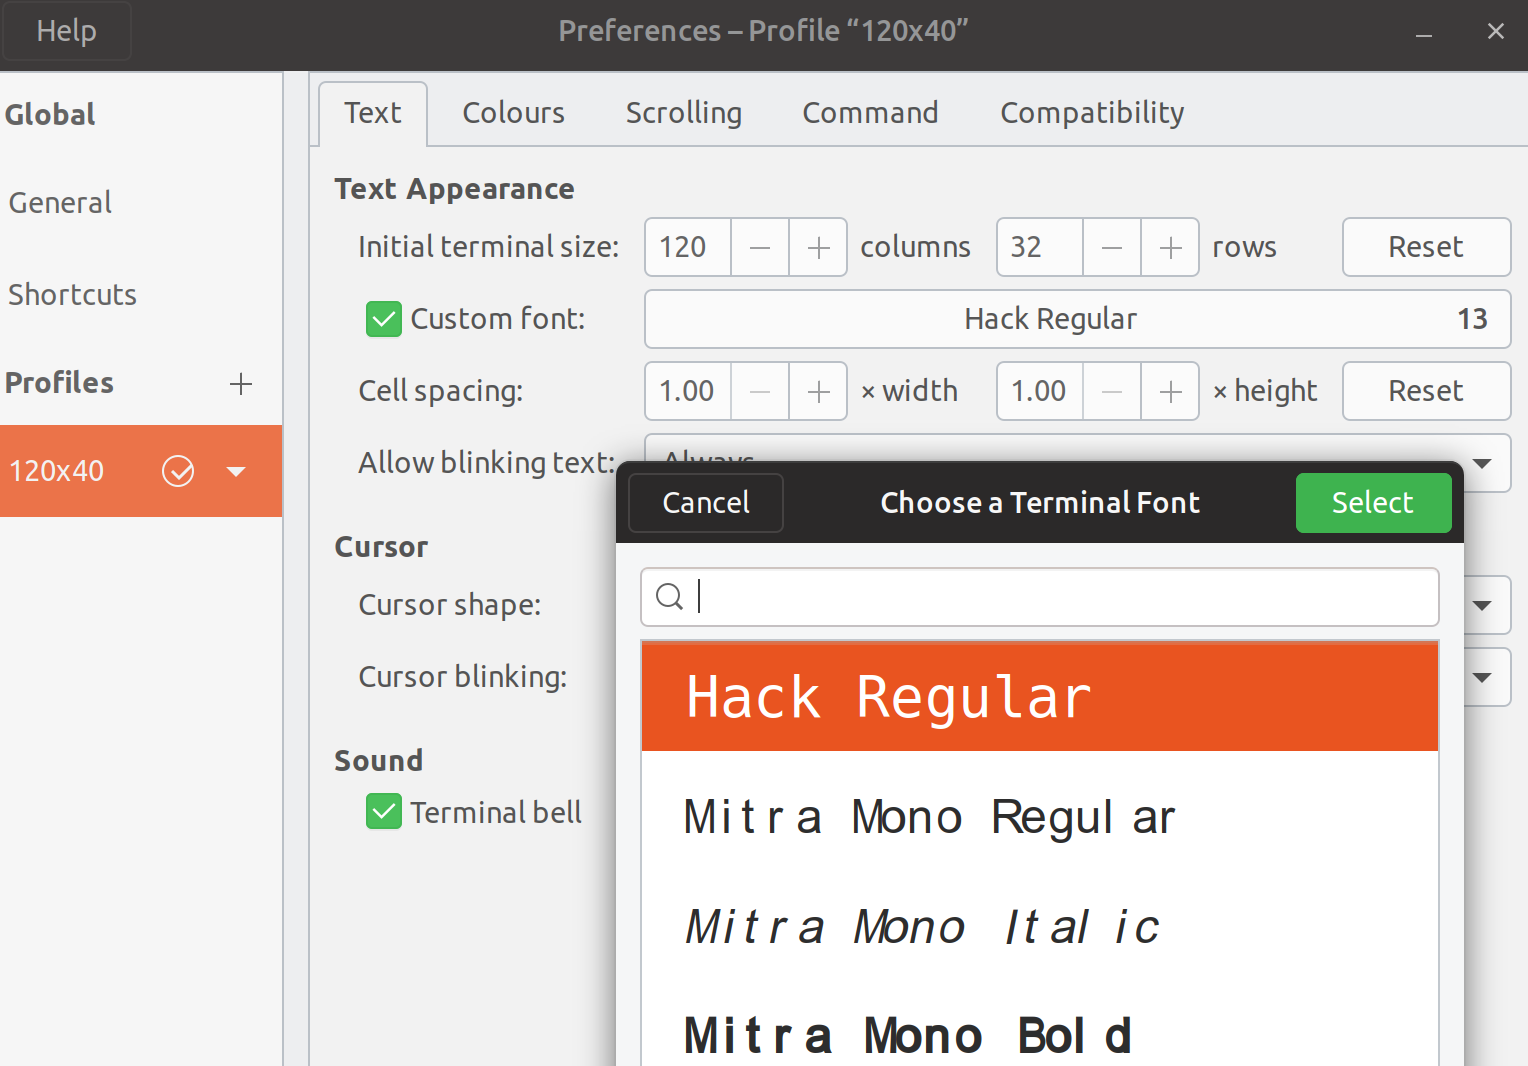
That’s it! Since I wanted this Hack font specifically for terminal use, I went and updated my default profile in GNOME Terminal app:

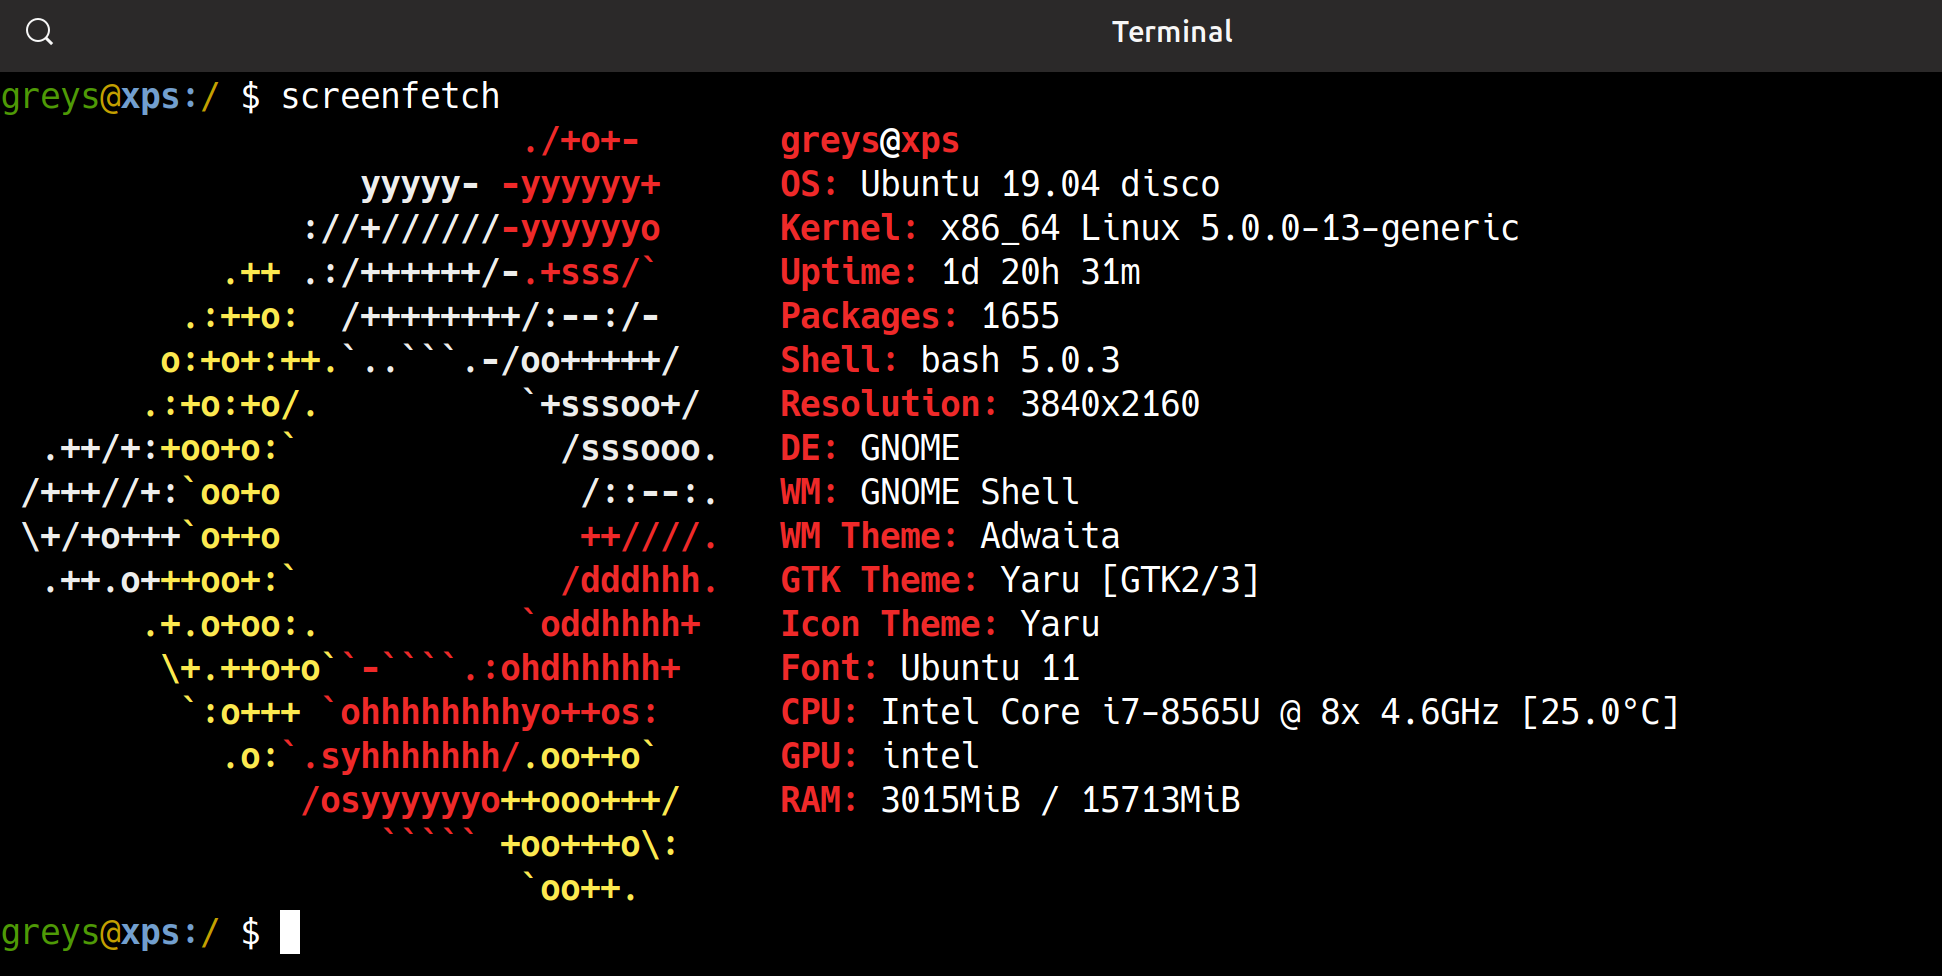
to enjoy the font:

See Also
- basic Unix commands
- Fix X11 fonts in VirtualBox
- Hack Font
- X11 forwarding with SSH in MacOS
- tmux
- Unix Commands


