rsync over SSH

 rsync over SSH
I’ve migrated a few rsync pages yesterday and realised there’s been something I’d wanted to document for some time: using rsync over ssh.
rsync initially started as a tool for synchronising local folders, then expanded to also working with external drives, then progressed to working with networking folders and eventually started working with remote servers using its own native rsync protocol.
Why You Need rsync Over SSH
Modern Linux systems support running rsync over SSH, which gives you best of two worlds: you get remote access AND you make sure your transfer is secure.
Additionally, using SSH transport has two more benefits over the native rsync protocol:
- You don’t need rsyncd daemon listening on the remote server
- You don’t need to open additional ports (873/tcp for rsyncd) since SSH port 22 is likely to be available out of the box.
How To use rsync with SSH
In most cases, there’s nothing additional needed. But just to be on the safe side, use -e option to specify your SSH intention:
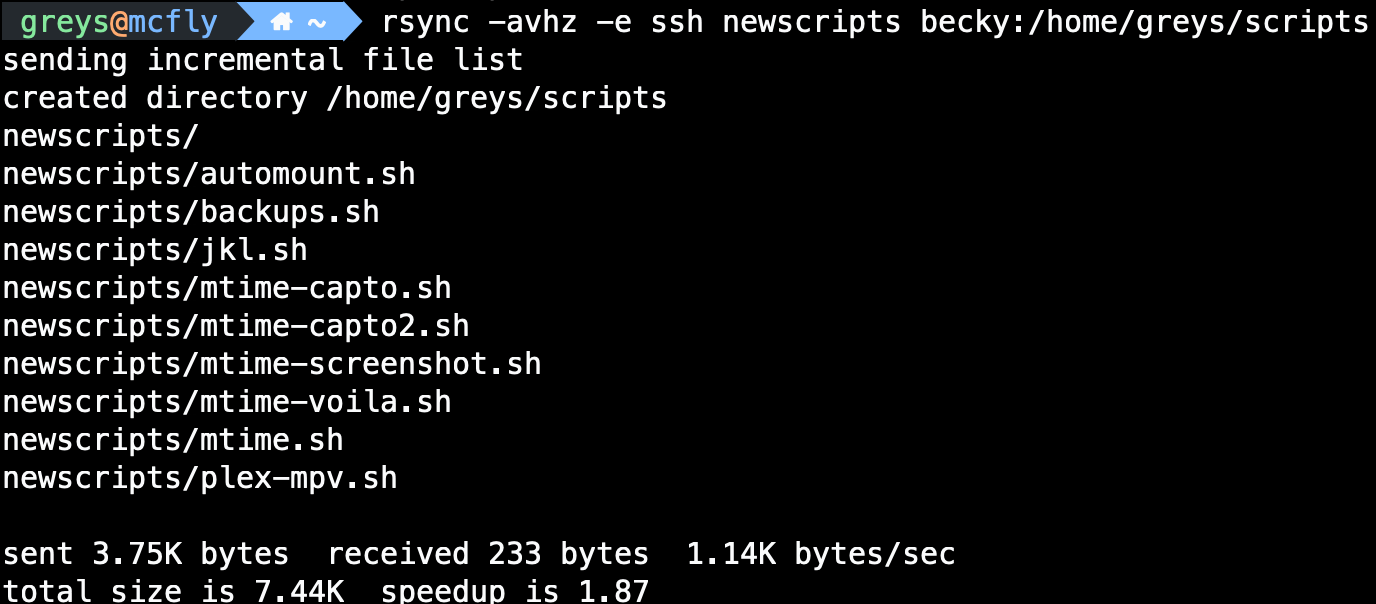
rsync -avhz -e ssh newscripts becky:/home/greys/scripts
In this command line above:
newscriptsis the name in my current locationbeckyis the hostname of my Raspberry Pi server/home/greys/scriptsis the destination directory name - this will be created on becky
The behaviour of rsync command above is that I’ll end up with the exact copy of my local newscripts directory on Macbook with the remote /home/greys/scripts directory.
Let’s run it:
$ rsync -avhz -e ssh newscripts becky:/home/greys/scripts
sending incremental file list
created directory /home/greys/scripts
newscripts/
newscripts/automount.sh
newscripts/backups.sh
newscripts/jkl.sh
newscripts/mtime-capto.sh
newscripts/mtime-capto2.sh
newscripts/mtime-screenshot.sh
newscripts/mtime-voila.sh
newscripts/mtime.sh
newscripts/plex-mpv.sh

sent 3.75K bytes received 233 bytes 1.14K bytes/sec
total size is 7.44K speedup is 1.87
The Key Benefit of Using RSync
The key benefit is synchronising two specified locations. Simply put, it means if I change a file or two in my local newscripts directory, I won’t have to copy the whole thing over to the remote server - I can use the same rsync command to sync it again and rsync itself will figure out which files must be transferred, saving me time and bandwidth.
So newscripts directory has the following in it:
$ ls -al newscripts
total 72
drwxr-xr-x 11 greys staff 352 9 Jul 20:07 .
drwxr-xr-x+ 97 greys staff 3104 9 Jul 20:25 ..
-rwxr-xr-x 1 greys staff 1348 9 Jul 20:07 automount.sh
-rwxr-xr-x 1 greys staff 2153 9 Jul 20:07 backups.sh
-rwxr-xr-x 1 greys staff 283 9 Jul 20:07 jkl.sh
-rwxr-xr-x 1 greys staff 634 9 Jul 20:07 mtime-capto.sh
-rwxr-xr-x 1 greys staff 641 9 Jul 20:07 mtime-capto2.sh
-rwxr-xr-x 1 greys staff 645 9 Jul 20:07 mtime-screenshot.sh
-rwxr-xr-x 1 greys staff 632 9 Jul 20:07 mtime-voila.sh
-rwxr-xr-x 1 greys staff 583 9 Jul 20:07 mtime.sh
-rwxr-xr-x 1 greys staff 522 9 Jul 20:07 plex-mpv.sh
Let’s change two of the files:
echo "test" >> newscripts/jkl.sh
echo "test" >> newscripts/mtime.sh
And re-run rsync. See how its output differs from the first run? It only transfers the 2 files that I changed:
$ rsync -avhz -e ssh newscripts becky:/home/greys/scripts
sending incremental file list
newscripts/jkl.sh
newscripts/mtime.sh

sent 814 bytes received 67 bytes 195.78 bytes/sec
total size is 7.45K speedup is 8.46
That’s it for now. Have fun!


